This is how I created my mushroom.

So this is the basic cyclinder shape.


Once i had done that i reduced the size on the top to make it smaller, and then cut it out to give the mouth of the mushroom.
This is what it then looked like, at this stage there was no rims to work from so it made it harder to make a sloped surface.
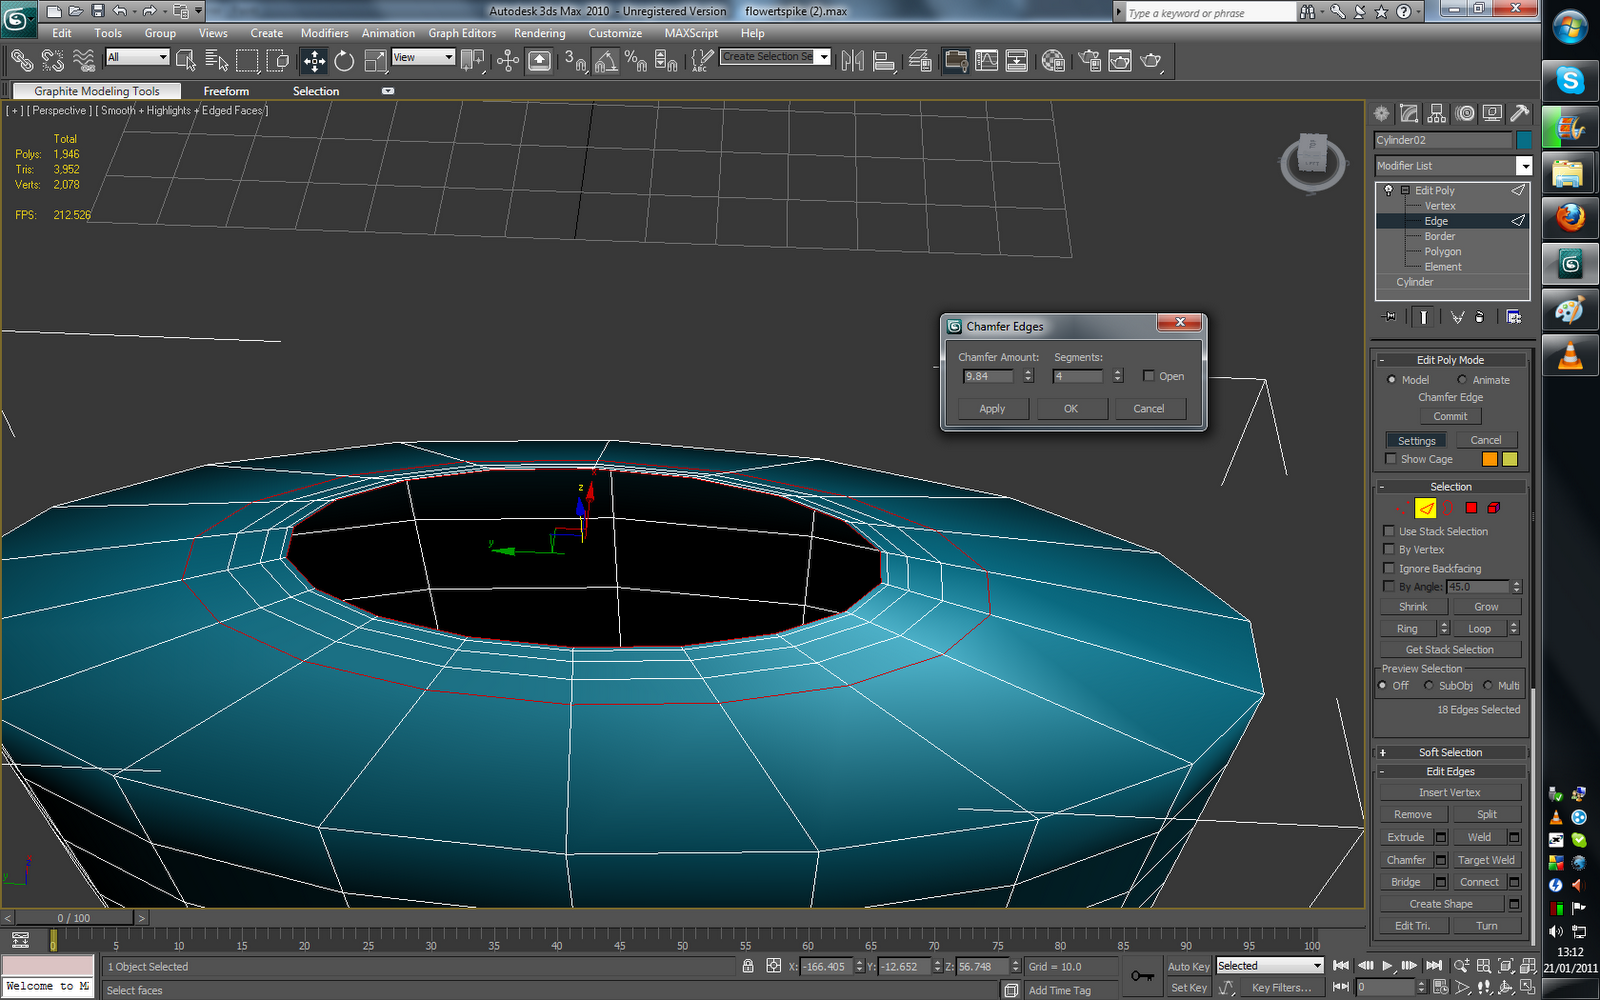

This is the menu that appears above on the image.
Chamfer amount is the distance between the segments and segments is the amount.

Here I have added depth into the mouth to create more realism, this was made by dragging down the edge which created the curve.

I then moved on to creating the teeth.
At first i made around 4 or 5 teeth and then began making more.
The problem was that the teeth were 'copys' of each other meaning that they could be only edited individually so:
the teeth had to be made into instances of each other so I didn't have to UVW Map each individual one, which would take a very long
time.
In other words when i textured one tooth it will texture a ll the others as well.
 This is a more upclose image of the set of teeth that i have provided my Mushroom with.
Once applied it allowed me to created curves into the model.


Here is a screen-shot of underneath the head of the mushroom.
This cone is made from a cyclinder that's been cut off.
This is like the mouth around the
This is a screen-shot from underneath the base of the mushroom. The reason I am showing you this is because I cut out the edge; because nobody will see this side it makes sense to delete to make more room when mapping.

This first image is when no smoothing is applied giving it sharp and rugged edges.
 The second image however has smoother edges and has a smoother gradient from lighting.
It was very simple to make for example the rim on the bottom was extruded outwards because the plant would be placed around a rock or inside a cave.


This is what the final model will look like, this is without any textures applied.
The next step to texturing my model is by adjusting the seam of the model (where the model will be split) the green line shows where the seem is.
This here is my map for the teeth . I had to do this for each every individual model excluding the teeth because they were instanced to each other.

This here is a picture of a rock texture which i will use for the head of the mushroom.


This is an image of blood splatter against a white background that i have used for my teeth.
This will hopefully add an deadly effect.

This is a texture i used to make the plant appear more "gooey" this texture was applied over other textures like ones above.
I used Photoshop to apply these textures to the map of my model, flattened out.
This was a good tool because i was able to blend in different textures with others to make them more unique to my design.

This was the final result after texturing the parts all of the parts...
This is an overhead view of the mushroom...
along with a side shot.


Here i haved rendered the shots above, this is to show the full detail of the model because whilst modelling you work with a low detail model for performance.
Again here is the top and side shot.

No comments:
Post a Comment